 Bellingham Exterior
 Building on the Edge of the Salish Sea: What New Construction in Puget Demands
Puget sits close enough to the water that the air itself works against a building envelope. Salt-laden moisture drifts in on the wind, driving rain comes in sideways during fall and winter storms, and the long gray stretch between October and April keeps every exterior surface damp for weeks at a time. For a new-construction window, that combination is the real test. The window itself rarely fails first — the flashing, the sealant, and the connection to the wall assembly do. Get that wrong on a brand-new home and you are chasing hidden rot behind trim boards within a handful of years, long before the sash or glass ever show a problem.
Because Puget is close to Bellingham but exposed to more open water and wind than the more sheltered in-town lots, we treat every new build here as a marine-exposure job by default, not an upgrade option. That means the same window unit that performs fine on a sheltered inland lot in Whatcom County needs a different installation detail set — better sill pans, more deliberate flashing laps, and sealants rated for constant damp cycling — once it goes into a Puget-area wall.
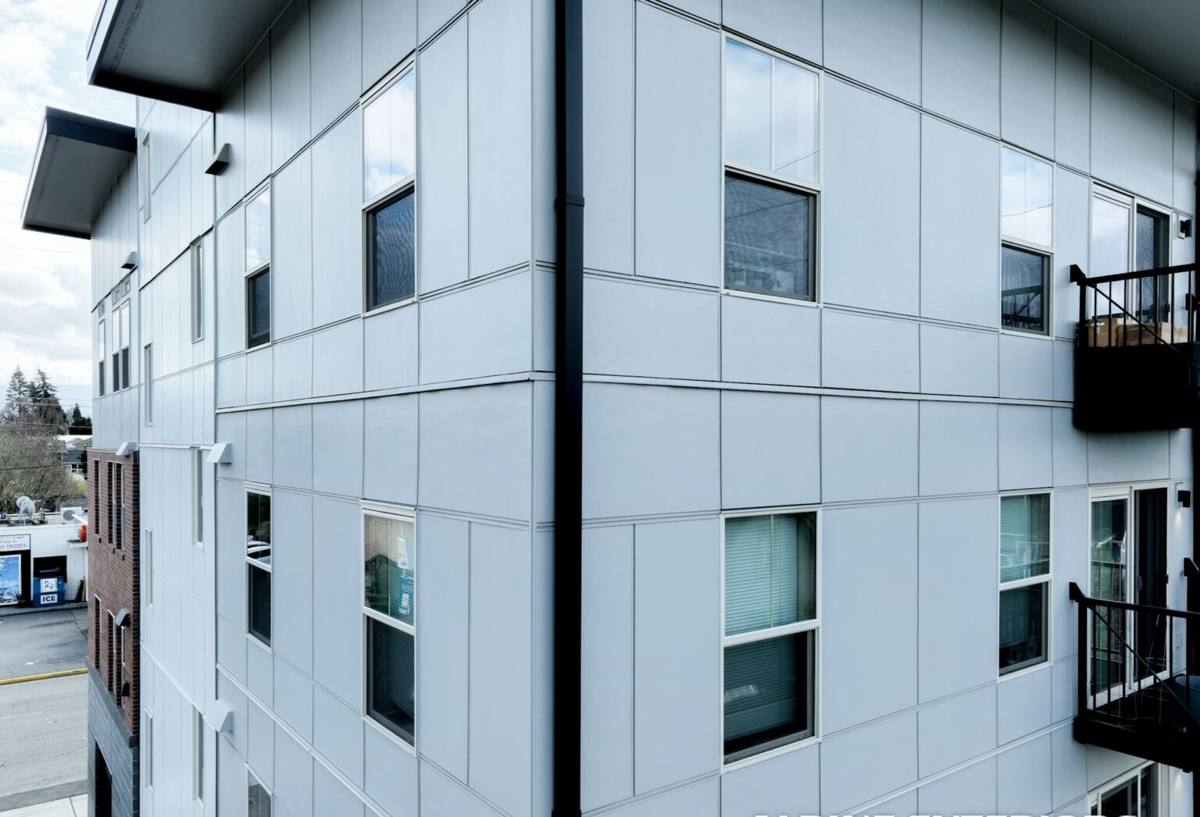
New Construction Is Not Replacement — Different Job, Different Risks
Replacing a window in an existing wall and installing one during framing are two different trades wearing the same name. In a replacement, the wall is already built, weathered, and hopefully still sound, so the job is about removing and resealing without disturbing what works. In new construction, there is no existing performance to preserve — there is only the chance to get the water management right the first time, before siding, trim, and insulation cover it up for good.
Why the stakes are higher on a new build
Every layer in a new-construction window opening — sill pan, water-resistive barrier, flashing tape, backer rod, sealant, nailing fin — has to be installed in the correct order and lapped the correct direction, because once the wall is closed up, nobody sees that opening again until there is a problem. On a replacement, a homeowner might notice a soft spot near a window in a few years and call someone out. On new construction, the same mistake sits hidden behind finished walls, and by the time it shows up as staining, soft drywall, or a musty smell, the damage is already inside the structure.
What a Correct Installation Actually Involves
A properly installed new-construction window is a sequence, not a single step. Skipping or reordering any part of it is how good windows end up with bad outcomes in a wet climate.
The sequence, roughly, looks like this
- Rough opening is checked for square, level, and correct dimensions before the window ever shows up on site.
- A sloped sill pan is formed or installed so any water that gets past the window drains back outside instead of pooling on the sill.
- Water-resistive barrier is lapped correctly around the opening — over the sill pan, behind the side and head flashing — so water always sheds downward and outward, never into a seam.
- The window is set, shimmed plumb and square, and fastened through the nailing fin without over-driving or under-driving fasteners, both of which can distort the frame and cause the sash to bind or leak.
- Flashing tape is applied at the sides and head, in the correct shingle-lap order, tying the window fin back into the building's water-resistive barrier.
- Interior and exterior sealant joints are placed only where they belong — a continuous bead is not always correct, since some assemblies need a weep path left open.
- Backer rod and low-modulation sealant finish the exterior joint where trim or siding will meet the window, sized correctly for the expected joint movement.
Miss the sill pan and every window looks fine for years, right up until water finds the one path that was never sealed. That is the single most common origin point we find when we open up a leaking new-construction window in this region.
Choosing Frame Material and Glass for a Puget-Area Build
Material choice matters more here than in a drier inland climate, because the frame spends more of the year damp, more of the year cold, and more of the year exposed to salt-bearing air than it would further from the water.
| Frame Material | How It Handles This Climate | Trade-Offs to Know |
|---|---|---|
| Vinyl | Will not rot or corrode from salt air; consistent performance at a moderate price | Expands and contracts more with temperature swings; installation tolerances matter |
| Fiberglass | Very stable dimensionally, holds paint well, shrugs off moisture and salt exposure | Higher upfront cost; fewer color and style options in some product lines |
| Wood-clad | Warm interior look, good insulating value | Cladding seams and end grain need careful detailing to keep moisture out long-term; higher maintenance commitment |
| Aluminum | Strong, slim sightlines, common in larger openings | Conducts cold and can condense without a thermal break; least forgiving of the group in this climate |
Glass packages matter just as much as frame choice. In Whatcom County, we look for a low-E coating tuned for a heating-dominated climate, argon fill, and a warm-edge spacer — the spacer especially, since a poor one is where condensation and seal failure usually start on a coastal home. None of this is about chasing the most expensive option; it is about matching the assembly to how much moisture and temperature swing the window will actually see in Puget.
How We Handle a New-Construction Window Job
On a new build, we are one trade among several, and timing with the framer, the water-resistive barrier installer, and the siding crew matters as much as the window work itself.
Our process
We start with a walk of the framed openings before any windows arrive, checking rough openings against the actual window sizes and flagging anything out of tolerance while it is still cheap to fix. We coordinate directly with the general contractor or builder on sequencing, since sill pans and flashing need to go in before the window and the water-resistive barrier needs to be lapped correctly around it — get that order wrong and no amount of sealant fixes it later. We install to the window manufacturer's written instructions, not a generic method, because fastening patterns and flashing details vary between vinyl, fiberglass, and wood-clad lines. Once installed, we check every unit for square, plumb, and smooth operation before it gets covered by trim or siding, and we document the flashing details while the opening is still visible, since that is the one point in the project when anyone can actually verify the work.
Mistakes We See on Fast-Moving New Builds
New construction runs on schedule pressure, and windows are often installed in a rush between framing inspection and insulation. That is exactly when corners get cut.
- Sill pans skipped or improvised with sealant alone instead of a proper sloped, drained pan
- Flashing tape applied in the wrong lap order, sending water behind the barrier instead of over it
- Nailing fins fully sealed underneath, trapping any water that does get in instead of letting it drain back out
- Windows shimmed out of square to make a slightly-off rough opening "work," which stresses the frame and the seals
- Exterior sealant used as the only line of defense, with no flashing behind it to back it up
- Interior sealant applied before an inspector or the window crew has verified the exterior detailing is complete
Every one of these looks fine on move-in day. Most take a few wet seasons to show themselves, which is why a rushed new-construction window job can pass a final walkthrough and still cause problems well after the builder's warranty has expired.
Why a Crew That Already Works Puget Matters
Bellingham and the surrounding Whatcom County shoreline are not one climate — a lot has to do with how exposed a given lot is to wind and open water, and Puget sees more of both than many in-town locations. A crew that has installed windows on multiple lots in this specific area already knows how much margin to build into flashing details, which sealants hold up to the salt and moss exposure here, and where the water actually wants to go on a home exposed to weather off the water. That is not something a crew unfamiliar with the area gets right by following a national installation manual alone — the manual gives you the minimum; local exposure tells you where to add margin above it.
There is also the practical side: permitting and inspection expectations, typical framing practices used by builders working this stretch of Whatcom County, and simply knowing which details tend to cause callbacks on homes exposed to this much moisture. A crew that already works in and around Puget brings that judgment to the job instead of learning it at the homeowner's expense.
A Homeowner's Checklist for a New-Construction Window Job
Whether you are working with us or evaluating any contractor for a new build in this area, these are worth confirming before windows go in the wall.
- Ask whether sill pans are standard on every opening, not just an upsell
- Confirm who supplies and installs the flashing tape, and in what order it laps
- Ask how rough openings are checked against window sizes before installation day
- Get the frame material and glass package in writing, matched to this climate rather than a generic spec
- Ask whether flashing and sill details are photographed before they are covered by siding
- Confirm what warranty covers installation versus what is strictly the manufacturer's product warranty
None of this is unusual to ask, and a contractor who already does this work correctly will have straightforward answers, not vague reassurance.
Get a Straight Answer on Your Puget New Build
If you are framing a new home in Puget or elsewhere around Bellingham and want windows installed the way this climate actually requires — sill pans, correct flashing laps, and materials suited to salt air and driving rain — we are glad to walk the site with you. Reach out for a free, no-pressure estimate using the form below, and we will look at your plans or framed openings and tell you plainly what the job needs.