 Bellingham Exterior
 Why Birch Bay Siding Has to Work Harder Than Siding Ten Miles Inland
Birch Bay sits right on the water, and that changes what a home's exterior is up against. Salt-laden air moves off the bay and settles on every exterior surface, wind-driven rain hits walls at angles that inland Bellingham homes rarely see, and the long, gray Whatcom County winter keeps siding damp for weeks at a stretch. Add in the shade from mature evergreens on many Birch Bay lots and you get a near-permanent moss and algae season on the north and west-facing walls. None of this is exotic — it's just the normal cost of living on the water — but it means siding decisions that work fine in a drier, more sheltered neighborhood can fail early here.
Wood-based products swell, check, and rot faster in this environment. Vinyl gets brittle and can warp under direct salt and sun cycling, and its seams give moisture a path inward. Paint film on wood or engineered wood siding breaks down faster near saltwater than it does even a few miles inland. Homeowners who've lived in Birch Bay a while usually already know this from experience — it shows up as chalky, peeling paint, soft trim boards, or a green-black film that keeps coming back no matter how often it's power-washed.
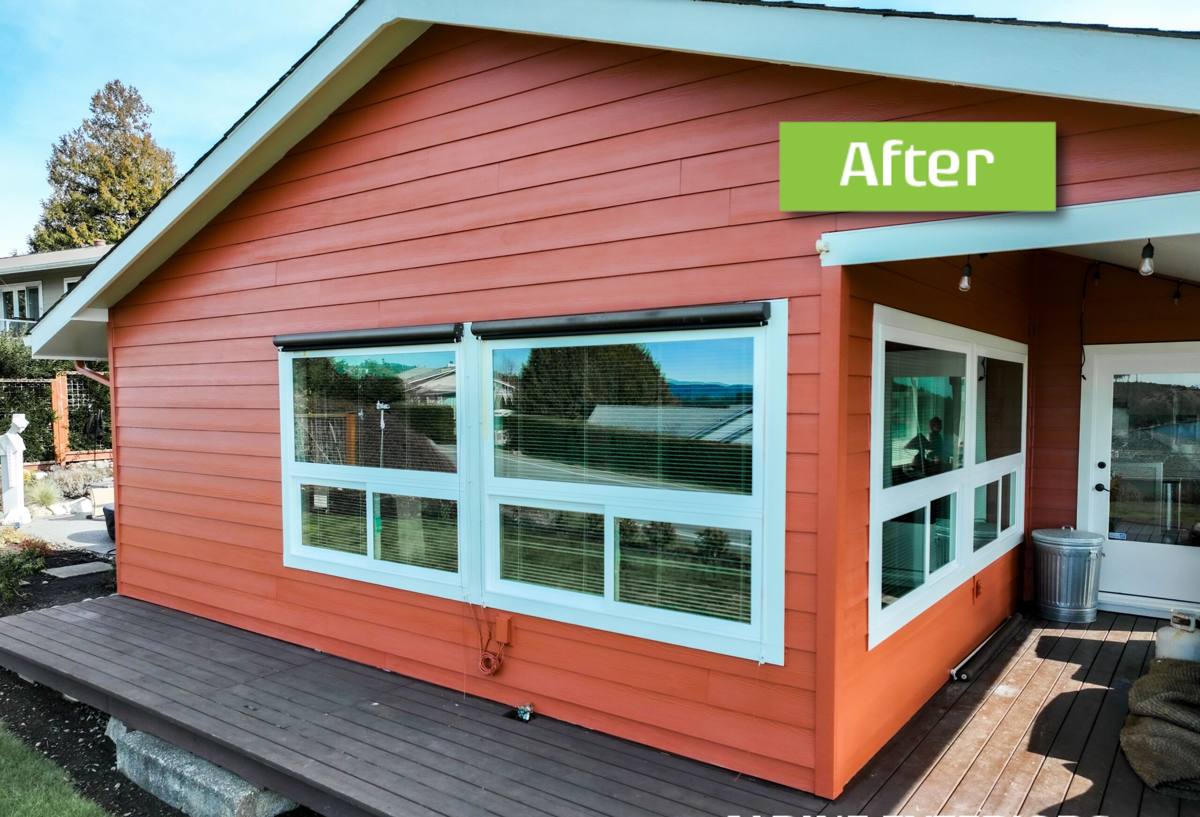
What Birch Bay Homes Actually Need From Their Siding
A correct siding job for this location isn't about picking the prettiest color — it's about picking a material and installation method that can shed salt spray, resist moisture intrusion, and survive repeated wet-dry cycling without warping, rotting, or losing its finish. That's the entire reason this company installs James Hardie fiber cement exclusively and does not install LP SmartSide, vinyl, Cemplank, Allura, primed spruce, or cedar. Those products can be installed correctly and can perform reasonably well in the right setting — but on a waterfront-adjacent property in Whatcom County, they ask homeowners to take on maintenance and risk that Hardie simply doesn't carry.
The Specific Demands of a Coastal Whatcom County Lot
- Resistance to salt-air corrosion of fasteners and trim, not just the field of the siding
- A finish that holds color and doesn't chalk quickly under UV plus salt exposure
- A substrate that won't swell or delaminate when it stays damp for extended periods
- Non-combustible material, since wildfire smoke and ember exposure has become a real seasonal concern even in western Washington
- A installation detail package (flashing, water-resistive barrier, gapping) built for wind-driven rain, not just vertical rainfall
James Hardie Products We Install and Why They Fit Birch Bay
James Hardie fiber cement is cement, sand, and cellulose fiber, fired and cured into a rigid board that does not absorb water the way wood-based products do and does not soften, warp, or support combustion. For Birch Bay specifically, we spec Hardie's HZ5 climate-engineered formulation, built for regions with the freeze-thaw cycling and moisture exposure the Pacific Northwest coastline sees. The ColorPlus factory finish matters just as much as the board itself here — it's baked on in a controlled environment with more coats and a stronger bond than field-applied paint can achieve, which is a real advantage in an area where painted surfaces already fight a losing battle against salt film.
| Product Line | Best Use on Birch Bay Homes | Why It Matters Here |
|---|---|---|
| HardiePlank Lap Siding | Primary wall cladding, most common choice | Traditional lap profile sheds wind-driven rain well when installed with correct overlap and flashing |
| HardiePanel Vertical Siding | Accent walls, gables, modern designs | Fewer horizontal joints for water to work into on exposed elevations |
| HardieTrim | Corners, window and door trim, fascia | Matches the moisture resistance of the field siding instead of pairing fiber cement with wood trim that will fail first |
| ColorPlus Finish | All exposed surfaces | Factory-cured finish resists fading and chalking better than field-painted siding in salt air |
How We Approach a Birch Bay Installation
Assessment and Prep
Every job starts by pulling the old siding back far enough to actually look at the sheathing and framing underneath, not just the visible exterior. On waterfront-adjacent homes we pay particular attention to areas around windows, at deck ledgers, and at grade level, since those are where moisture intrusion shows up first and does the most structural damage. Any soft or water-damaged sheathing gets replaced before a single piece of new siding goes up — installing Hardie over compromised sheathing just hides a problem instead of fixing it.
Water Management Before the Siding Ever Goes On
A water-resistive barrier goes over the sheathing, and every penetration — windows, doors, hose bibs, vents, electrical — gets properly flashed and sealed before cladding starts. This layer is what actually keeps a home dry; the siding is the second line of defense, not the first. We install rainscreen or furring strips where the wall assembly calls for it, which creates a drainage gap behind the siding so any moisture that does get past the cladding can drain and dry instead of sitting against the sheathing.
Installation to Manufacturer Spec
James Hardie's warranty depends on installation matching their published specifications — correct fastener type and spacing, minimum clearance from grade, roof lines, and decks, proper gapping at butt joints, and factory or matching field-mixed caulk at trim intersections. We follow those specs exactly, not as a formality but because it's the difference between siding that performs for decades and siding that fails at the seams in five years regardless of how good the board itself is.
Finish Details
Trim, corners, and caulking get finished with materials rated for the same exposure as the field siding. Touch-up paint matched to the ColorPlus finish is used sparingly and only where field-cutting exposed raw material, keeping the factory finish doing most of the work.
Salt Air, Moss, and What Ongoing Maintenance Actually Looks Like
Fiber cement doesn't eliminate maintenance — nothing on a Birch Bay exterior does — but it changes what that maintenance is. Instead of scraping and repainting failing wood or watching vinyl chalk and yellow, ColorPlus-finished Hardie mostly needs periodic rinsing to keep salt film and moss spores from building up, particularly on shaded north and west walls near trees.
A Realistic Maintenance Checklist for Birch Bay Homes
- Rinse siding with a garden hose (not a pressure washer aimed directly at seams) once or twice a year, more often on shaded or tree-line walls
- Inspect caulking at trim and window intersections annually; recaulk before gaps open up, not after water has already gotten behind them
- Trim back vegetation and tree limbs that keep walls shaded and damp longer than the rest of the house
- Check gutters and downspouts before the fall rains — siding failures at grade are very often a gutter problem, not a siding problem
- Watch for any soft spots at the bottom courses near grade or decks, which usually point to a flashing or clearance issue worth having checked
Why the Crew Matters as Much as the Product
James Hardie makes a strong product, but the warranty and the real-world performance both depend on installation. A crew that mainly works drier, more sheltered neighborhoods inland can still make mistakes on a Birch Bay job — under-flashing a window because it "usually" doesn't need it, skipping a rainscreen gap to save time, or using standard caulk where a marine-grade sealant belongs. Those shortcuts might not show up for a year or two, and by the time they do, the fix is a lot more expensive than doing it right the first time.
Working Birch Bay regularly means already knowing which elevations take the worst of the wind-driven rain, how deep the flashing needs to be at a given roofline, and where the salt and moss problems actually start on a coastal Whatcom County lot — not guessing at it from a manual. That local pattern recognition is part of what a homeowner is paying for when they hire a crew with a track record on this specific stretch of coastline.
What Drives Cost on a Birch Bay Siding Job
Every home is different, so we don't quote firm numbers without walking the property, but the same handful of factors move the price on most Birch Bay jobs.
| Factor | Why It Affects Cost |
|---|---|
| Condition of existing sheathing | Water-damaged sheathing found during tear-off has to be replaced before siding goes on |
| Home size and wall complexity | More corners, gables, and dormers mean more cutting, flashing, and trim labor |
| Siding profile and finish | Lap width, panel vs. lap, and ColorPlus color selection affect material cost |
| Trim and detail scope | Full trim replacement with HardieTrim costs more than reusing sound existing trim |
| Access and site conditions | Waterfront lots, steep grades, or limited staging area can add labor time |
We provide a written estimate that breaks these factors down so homeowners can see exactly what they're paying for and where, rather than a single lump-sum number.
What to Expect During the Project
Most full siding replacements on a typical Birch Bay home run from a few days up to a couple of weeks depending on size and complexity, with weather playing a real role in scheduling given how much of the year sees rain in this part of Whatcom County. We sequence tear-off in sections rather than stripping an entire home bare at once, so the house isn't left exposed to weather any longer than necessary. Before we leave, every elevation gets a final walk-through with the homeowner to check fastener lines, caulking, trim, and finish before we call the job complete.
Ready to Talk About Your Home
If your Birch Bay home's siding is showing chalky paint, soft trim, persistent moss, or you're simply planning ahead for a coastal exterior that can actually handle the salt air and rain, we'd be glad to take a look and walk you through what a correct James Hardie installation would involve for your specific house. Fill out the form below for a free, no-pressure estimate.