 Bellingham Exterior
 Building New in a Marine Exposure
Birch Bay sits right on the water, which is a big part of why people build here — and also why new-construction windows need to be treated differently than they would on a typical inland lot. Salt-laden air off the bay accelerates corrosion on hardware and fasteners, driving rain pushed by open-water wind finds every gap in a window opening that wasn't sealed correctly, and the long, wet Whatcom County winter keeps siding and trim damp for months at a stretch, which is exactly the environment moss and mildew like best. None of this is exotic — it's just the normal cost of coastal living — but it means a new-construction window installation done to "pretty much anywhere" standards can start showing problems within a couple of winters, while one done right for this specific exposure will hold up for decades.
New construction is also the one point in a home's life where getting the window opening right is genuinely easy. The wall is open, the house wrap isn't torn up around old flashing yet, and there's no existing trim or siding to work around or patch. Mistakes made here get buried behind siding and drywall and don't show up as a problem until there's already water damage. That's the reason we treat new-construction window work as a sequencing and detailing job first, and a window-hanging job second.
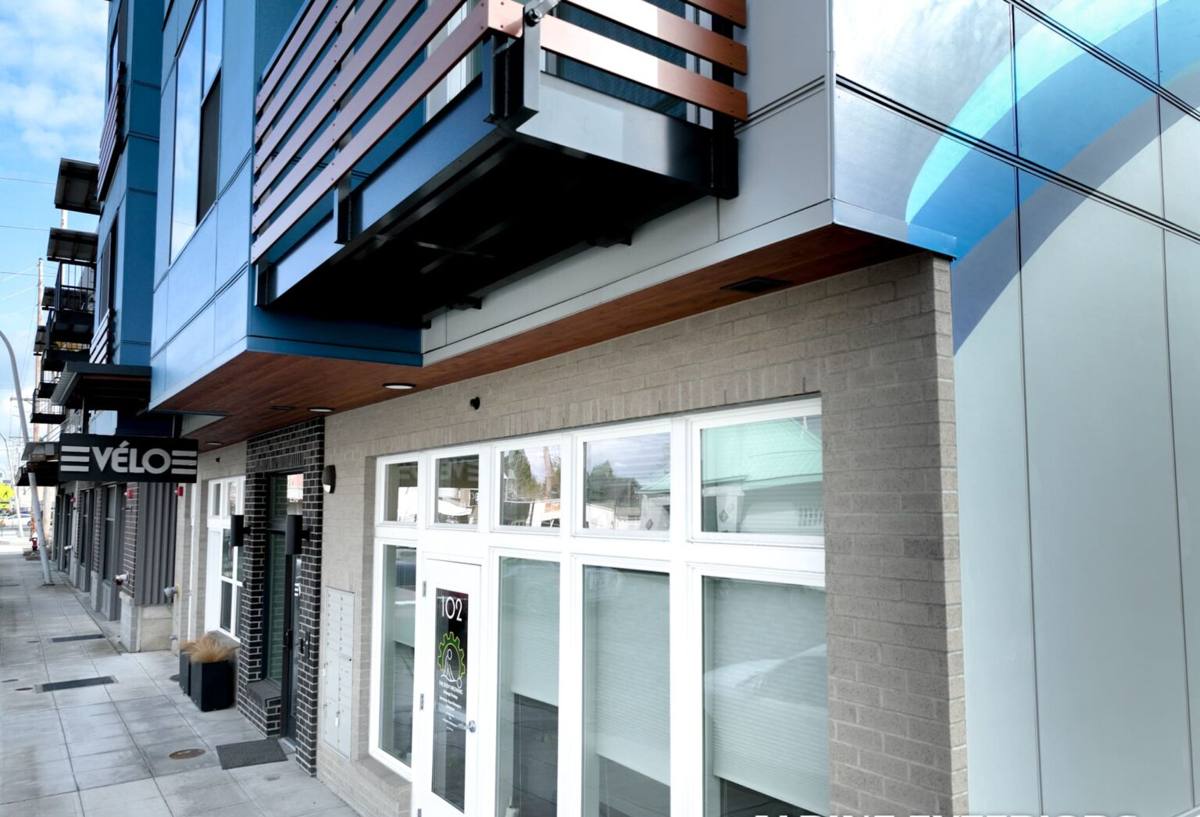
What Correct New-Construction Window Installation Actually Involves
"Installing a window" sounds like one step. In new construction it's really a layered system, and each layer has to be built in the right order and lapped correctly with the ones next to it — this is where most long-term leaks start, not with the window unit itself.
The rough opening and sill pan
Before a window ever goes in, the rough opening gets checked for square and correct sizing, and a sloped sill pan is built or installed so any water that gets past the window has somewhere to go — outward, not into the framing. On a waterfront or near-waterfront lot like Birch Bay, we don't skip the sill pan even on protected elevations; wind off the bay doesn't always come from the direction you'd expect.
Flashing integration with the water-resistive barrier
The window's flashing tape and flanges have to be lapped into the house wrap in the correct shingle-style order — bottom, sides, then top — so water sheds down and over each layer like roofing felt, never into a seam. This is the single most common place we find shortcuts on new builds we're asked to inspect or correct: house wrap taped over the top flange instead of under it, which traps water right where it enters the wall.
Air sealing and insulation at the perimeter
The gap between the window frame and the rough opening gets sealed with a proper backer rod and sealant, or a compatible low-expansion foam, on both the interior and exterior. This does double duty: it stops drafts and it keeps humid interior air from condensing inside the wall cavity during our cold, wet winters.
Fastening and hardware
In a salt-air environment, fastener choice matters more than people expect. We use corrosion-resistant fasteners rated for the exposure rather than whatever came in the box, particularly on any elevation facing open water or prevailing wind.
Choosing the Right Window for Birch Bay's Exposure
There's no single "best" window brand or material — the right choice depends on the lot's exposure, the home's design, and the owner's maintenance tolerance. What we do rule out, as a professional standard rather than a knock on any manufacturer, is bare aluminum-frame windows on direct waterfront exposures — aluminum conducts cold and is more prone to corrosion pitting near salt water over time, and it's a harder material to fully weatherize at the frame joints. For most Birch Bay builds we're steering clients toward vinyl, fiberglass, or clad-wood options, chosen based on the specifics below.
| Frame Material | Salt-Air Performance | Maintenance | Typical Fit |
|---|---|---|---|
| Vinyl | Good — won't corrode, but color can fade faster under strong reflected sun off the water | Low — occasional cleaning | Value-focused builds, rentals, back-of-lot elevations |
| Fiberglass | Very good — dimensionally stable, resists pitting and salt corrosion | Low | Waterfront and full-exposure elevations |
| Clad-wood | Good on the exterior clad face; interior wood needs protection from condensation | Moderate — exterior clad is low-maintenance, interior finish needs occasional attention | Design-driven builds where a wood interior look matters |
| Bare aluminum | Weakest in this exposure — more prone to pitting and harder to fully seal at joints over time | Higher — needs regular hardware and finish upkeep | Generally not our recommendation for direct water exposure |
Glass package matters as much as the frame. We generally spec Low-E, argon-filled dual or triple glazing sized to Washington's current energy code minimums for this climate zone, with tempered glass anywhere code requires it near grade, decks, or bathrooms. On elevations that take direct wind-driven rain, we also pay attention to a window's design pressure (DP) rating, not just its energy numbers — a window can be efficient and still not be built to handle sustained wind load and water infiltration on an exposed bay-front wall.
Our New-Construction Installation Process
- Rough opening inspection — verify size, square, and structural framing before any window arrives on site
- Sill pan flashing installed with a positive slope to the exterior
- Window set, leveled, shimmed, and fastened per manufacturer spec plus our own coastal fastening standard
- Flange flashing lapped into the WRB in correct shingle order, taped and sealed
- Perimeter gap sealed and insulated, interior and exterior
- Operation check — every sash and lock tested before we move to the next opening
- Final walk-through with the builder or homeowner before siding closes the wall in
That last step matters more than it sounds like it should. Once siding goes up, the flashing work behind it is essentially permanent — nobody wants to be pulling siding off a two-year-old house to chase a leak back to a bad lap joint.
Timing Windows Correctly Into the Build Schedule
On a new build, windows go in after the house is framed and wrapped but before siding and interior finish work starts — get that sequencing wrong and you either delay the whole schedule or force a rushed installation to keep other trades moving. We coordinate directly with general contractors and builders on Birch Bay and Whatcom County projects so window delivery, rough-opening sign-off, and our install slot line up with framing and siding crews instead of competing with them. We also flag any rough-opening or flashing issues to the builder before they get buried, which is a lot cheaper to fix at that stage than after drywall.
Energy Code and Performance
Washington's state energy code sets minimum U-factor and other performance requirements for new-construction windows, and those requirements have gotten stricter in recent code cycles. We spec glass packages that meet or beat current code for this climate zone, and we make sure the installation itself doesn't undercut a good window's rated performance — a well-rated window installed with poor air sealing will still leak conditioned air and won't perform to its number. For Birch Bay's climate specifically, we also weigh solar heat gain coefficient by elevation; a south- or west-facing window over the water can bring in more solar heat than the same window facing inland, which affects both comfort and cooling load in summer.
Common New-Construction Window Mistakes We're Called In to Fix
- House wrap taped over the top flashing flange instead of lapped under it, trapping water at the head of the window
- No sill pan, or a flat sill pan with no slope to shed water outward
- Standard fasteners used in a direct salt-air exposure instead of corrosion-resistant hardware
- Perimeter gaps left unsealed or stuffed with high-expansion foam that bows the frame out of square
- Windows ordered by size alone without checking design pressure rating against the elevation's actual wind exposure
- Siding closed in before a flashing walk-through, hiding problems until a leak shows up years later
Every one of these is avoidable with the right sequencing and a crew that's paying attention to this specific exposure rather than following a generic checklist.
Why a Local Birch Bay Crew Matters
Window installation standards written for a dry inland climate don't automatically translate to a bay-front lot in Whatcom County. A crew that regularly works Birch Bay and the surrounding coastline already knows which elevations take the worst of the wind-driven rain in a given neighborhood, which fastener and flashing details actually hold up against salt air over years rather than months, and how the long moss season affects siding and trim details around a window opening. That's knowledge you only build by doing the work here repeatedly — not something you can fully substitute with a manufacturer's generic install manual, which is usually written for a much broader, milder climate range than what this coastline actually delivers.
Get a Straight Answer on Your Build
Whether you're a homeowner overseeing a new build or a general contractor looking for a window crew that already understands Birch Bay's exposure, we're happy to walk your plans and give you an honest read on what the openings need. Reach out for a free, no-pressure estimate — no hard sell, just a straightforward look at what correct installation looks like for your lot.