 Bellingham Exterior
 Building New in Silver Beach? The Window Install Has to Be Right the First Time
New-construction windows are a different job than swapping out an old unit in an existing wall. There's no drywall to protect, no old frame to work around — but there's also no room for a shortcut to hide behind. Every window goes into a rough opening built to spec, gets tied into the weather-resistive barrier before the siding ever goes on, and has to perform for decades inside a wall system nobody will see again once it's closed up. On a Silver Beach build, that first install is the only chance to get the water management right.
We work new-construction window packages for homes going up in this part of Bellingham — additions, full rebuilds, and ground-up new homes on Whatcom County lots. The work is coordinated with your builder or general contractor, sequenced around framing and siding, and inspected before the wall closes. Get it right here and the windows are a non-issue for the next 20-plus years. Get it wrong and you're chasing a leak inside a finished wall.
What Silver Beach's Setting Asks of a Window Install
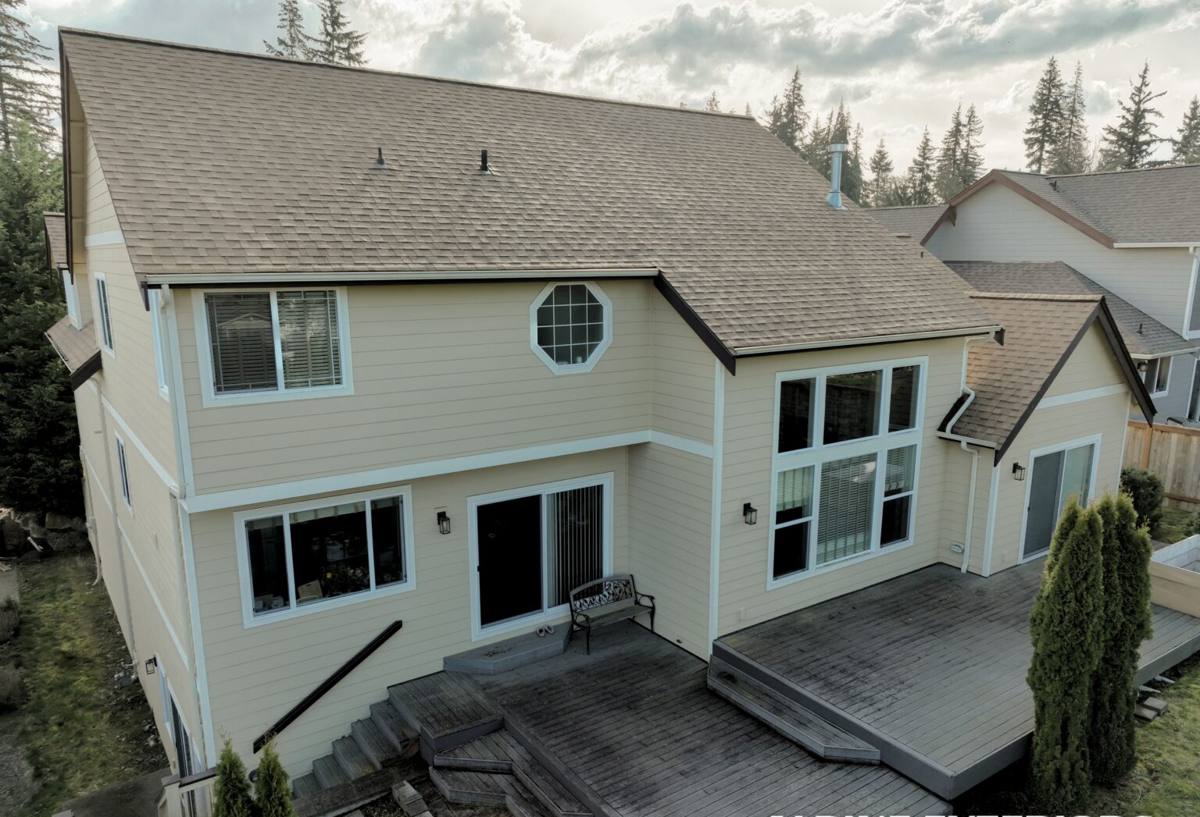
Silver Beach sits in the part of Bellingham built up around Lake Whatcom, and that setting shapes what a window package here needs to handle. Mature tree cover on a lot near the water means more shade, slower drying after rain, and a longer moss season on anything that stays damp — siding, trim, and window sills included. Add the driving rain that's normal for this stretch of the Washington coast, and any weak point in the flashing or sealant becomes a slow, hidden leak rather than an obvious one.
Bellingham's broader location on Bellingham Bay also means the region deals with salt-laden marine air, which is harder on exposed metal hardware, fasteners, and lesser window components over time than it is further inland. We don't assume every Silver Beach lot sits in full salt exposure — that varies block to block — but we spec hardware and fasteners that hold up under Whatcom County's marine climate rather than a drier-climate standard, because it's cheap insurance on a new build.
- Shaded, tree-covered lots near the lake dry slower after rain — flashing details matter more here than on an open, sunny lot
- Long wet seasons mean any gap in the weather barrier has months to do damage before it's noticed
- Moss and algae growth on sills and trim is a maintenance reality, not a defect — but good drainage design reduces how bad it gets
- Marine air across the Bellingham area argues for corrosion-resistant hardware on new installs, even a few miles from open water
New-Construction vs. Replacement — Why the Install Method Matters
A replacement window gets set into an opening that already has siding and trim around it, often using a flush-fin or block-frame unit designed to seal against the existing exterior. A new-construction window is different: it has a nailing fin around the perimeter that gets integrated directly into the wall's weather-resistive barrier before any siding goes up. That gives you a continuous, layered water path from the top of the window down and out — done correctly, water that gets behind the siding sheds past the window opening instead of pooling at it.
The trade-off is that new-construction installs only work this well if the sequencing is followed exactly. Skip a step, install the fin before the sill pan, or staple the wrap on in the wrong order, and you can build a leak path into a brand-new wall that won't show up until the drywall's been up for a few winters. This is why we treat the install sequence as non-negotiable, not a "close enough" checklist.
The Installation Sequence We Follow
- Sill pan first. A sloped, sealed sill pan goes in before the window does, so any water that ever gets past the glazing or frame has a built-in path back outside instead of into the framing.
- Weather-resistive barrier lapped correctly. The house wrap or building paper is cut and lapped so water always drains over the layer below it — never the reverse.
- Window set, leveled, and shimmed. Plumb, level, and square, with the frame supported so it doesn't rack over time and start binding the sash or letting daylight through the corners.
- Nailing fin fastened to schedule. Fastener spacing and type follow the window manufacturer's instructions — not a "however many nails looked right" approach, since it affects the warranty.
- Flashing tape over the fin, then head flashing. Side and head flashing integrate over the fin and under the upper wrap, completing the shingle-lap water path.
- Interior and exterior sealant, insulation, and air-sealing. The gap between frame and rough opening gets insulated and air-sealed without over-packing it, which can bow the frame.
- Photo-documented before siding covers it. Once siding goes on, the flashing work is hidden for good — we document it while it's still visible.
Picking Frame Material and Glass for This Site
There's no single "best" window — the right call depends on budget, the home's design, and how much upkeep you want going forward. For a shaded, damp, tree-covered lot like a lot of Silver Beach properties, we weigh moisture tolerance and hardware durability more heavily than we would on a dry, open site.
| Frame Material | How It Handles This Climate | Trade-Offs |
|---|---|---|
| Vinyl | Doesn't rot or corrode; handles damp shade well | Lower cost, but limited color/finish options and less rigid on larger units |
| Fiberglass | Very stable in wet, temperature-swinging conditions; low maintenance | Higher upfront cost than vinyl |
| Wood-clad | Good insulating value, classic look for period-style homes | Exposed wood interior needs upkeep; cladding must be detailed correctly to keep moisture off the wood core |
| Aluminum | Strong and slim sightlines | Conducts cold and can condense in our wet winters without a thermal break; we're selective about where we use it |
On glass, we spec double-pane, low-E units with argon or krypton gas fill as standard on new-construction jobs in this area — it's the baseline for keeping heating costs down through a Bellingham winter and cutting condensation risk on cold mornings. Washington's state energy code sets minimum performance requirements for new-construction glazing, and your building department will check the window schedule against those numbers before signing off, so we build the spec to pass inspection the first time, not to squeak by.
Coordinating With Your Builder or General Contractor
On a new build, windows sit at a pinch point in the schedule — framing has to be done and squared before window sizes are locked in, and siding can't start until the windows are in and flashed. We work directly with your builder or GC to confirm rough opening sizes off the framed structure (not just the plans), align the delivery date with the framing schedule, and show up ready to install as soon as the wall is dried in.
We also flag anything in the framing that needs correcting before we install — an out-of-square opening, a header issue, or a wall that's not plumb — rather than forcing a window into an opening that isn't right and hoping caulk fixes it later. Catching that before install is a lot cheaper than fixing a leak after the siding's up.
Our Process, Start to Finish
- Plan review. We look at your window schedule, elevations, and rough opening sizes before anything is ordered.
- Product selection. We walk through frame material, glass package, and hardware options suited to your home's design and this site's exposure.
- Scheduling with your builder. Delivery and install are timed to the framing schedule so the wall isn't left open longer than necessary.
- Installation, following the sequence above. No shortcuts on the sill pan, flashing lap order, or fastener schedule.
- Pre-siding walkthrough. We review the flashing work with you or your builder while it's still visible, before it's covered.
- Final walkthrough. Once siding and trim are complete, we check operation, seals, and finish on every unit.
What to Ask Before You Hire for a New-Construction Window Package
- Are you licensed and bonded to work in Washington, and can you show current proof?
- Who follows the manufacturer's installation instructions on-site — is it documented, or just "how we've always done it"?
- Will the flashing and sill pan work be visible for inspection or photographed before siding covers it?
- What's the warranty structure — manufacturer's product warranty versus your installation workmanship warranty — and who do I call if there's ever an issue with either?
- Have you worked on homes in this part of Bellingham before, and do you understand the moisture and shade conditions specific to a lake-adjacent, tree-covered lot?
Cost Factors on a New-Construction Window Package
Costs on a new build vary a lot by window count, size, and finish level, so we won't quote a number here that doesn't fit your project — but these are the main things that move the price up or down.
| Factor | Effect on Cost |
|---|---|
| Frame material (vinyl vs. fiberglass vs. wood-clad) | Largest single driver of per-window cost |
| Glass upgrades (triple-pane, tinted, or impact-rated glazing) | Adds cost but can improve comfort and lower energy bills |
| Window count and size mix | More units and larger openings (picture windows, large sliders) raise both material and labor cost |
| Site access and staging | Steep, wooded, or lake-adjacent lots can add time for material handling and staging |
| Custom shapes or sizes | Non-standard openings cost more than stock sizes and usually extend lead time |
| Hardware and finish level | Corrosion-resistant hardware and upgraded interior finishes add modest cost with a real payoff in this climate |
If you're planning a new build or addition in Silver Beach and want windows installed the way they're supposed to be — sequenced correctly, coordinated with your builder, and specced for this part of Whatcom County — we're happy to take a look at your plans and walk the site. Reach out for a free, no-pressure estimate using the form below.